Author: bossinassatko

Claire Redfield RE2 – the vest

Claire Redfield RE2 – the vest

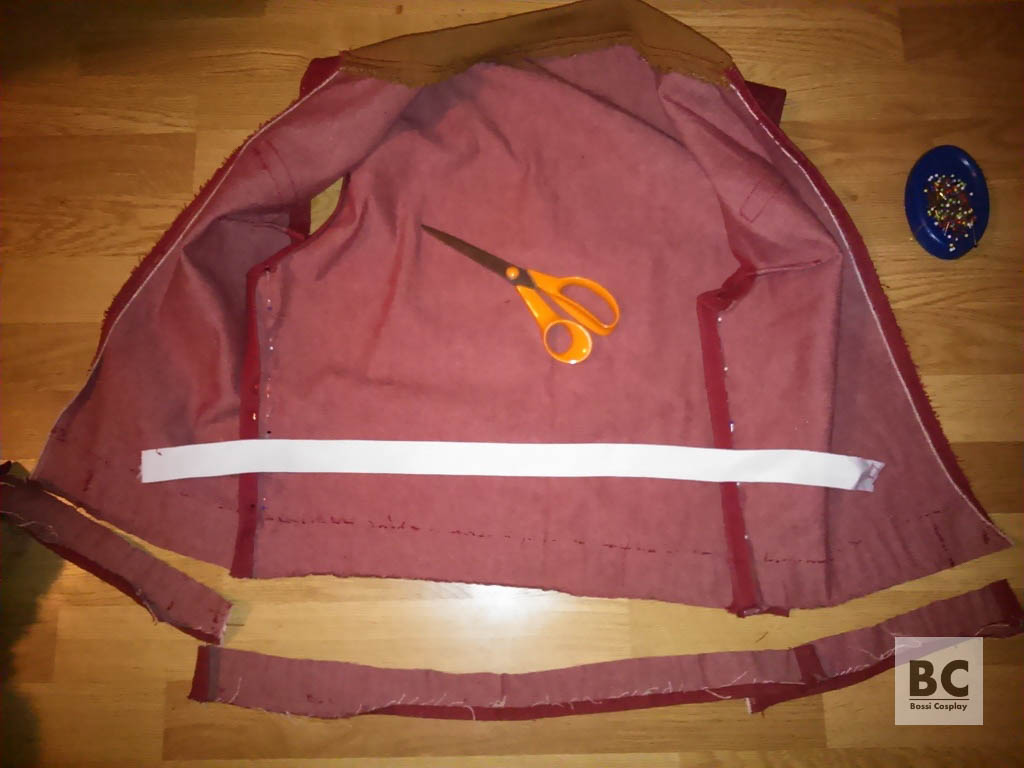
As the basis I used pattern 116 for jacket and trouser from Czech edition of Burda magazine no.2 year 1991 which I modified. I joined two parts of the pattern together to create one whole back piece and one whole front piece. “It is soooo easy to make a vest, isn’t it? Especially when you have a pattern of correct size!” …Yes, sure… After I copied the pattern onto the fabric, pinkish red denim, and cut it out, I pinned it together to make a simple vest which I tried on and… I started to cut, adjust and try on over and over again. That’s what you will do when you don’t make mock-ups.

The vest had to be shorter than the original one for which pattern was, so I went with the shorter length from the beginning (later, after first event in the costume I decided to shorten it even more). Shoulders of original pattern also didn’t fit me, so I had to adjust the armholes and, as usual, because I have “some” boobs, I had to add some darts (Claire’s model doesn’t have them – almost every game model doesn’t – they don’t think about things like that at all when making models – but to achieve the correct look I had to add them and luckily they are almost invisible on photos). I sew the vest together and tried it on once more – this time to see how big the false pockets should be and where exactly I should put them. Yaaaay for the inventor of paper tape! Thanks to it I don’t have scratches from pins all over my boobs.

At the bottom part of the vest I made a small tunnel into which I inserted the elastic. The elastic was about one third shorter then the length of my waist – this way I achieved the desired ruffled waist. Then I “only” had to sew on the knitted band as the collar and sew on the zipper. And of course finish up everything to look neat.

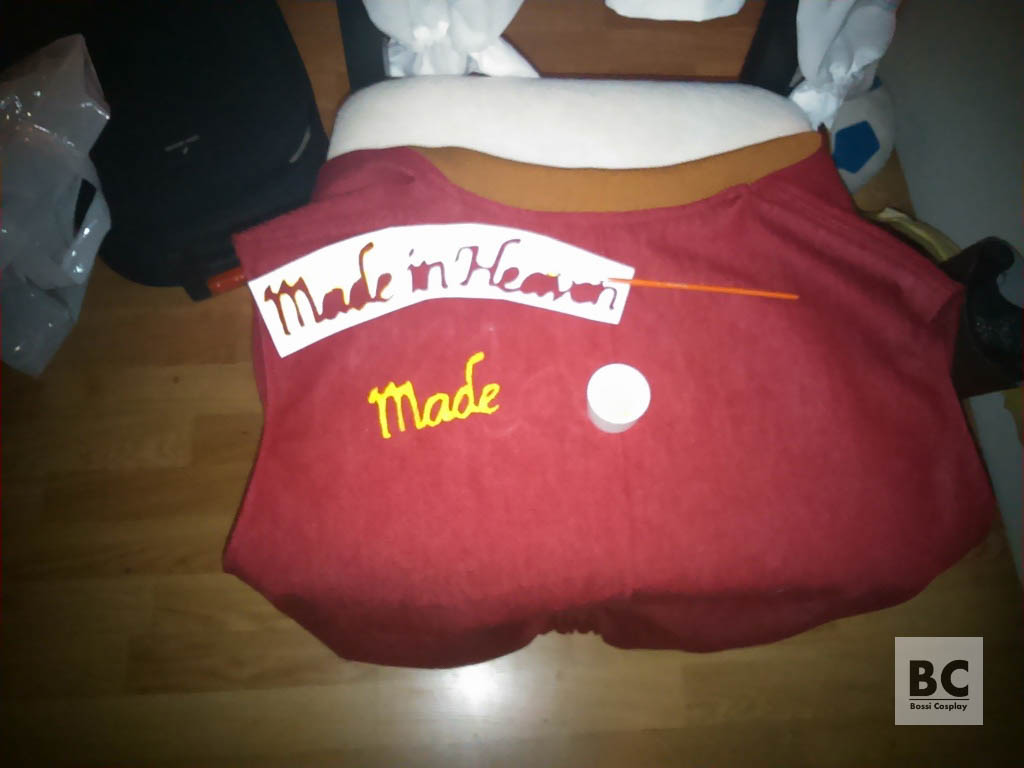
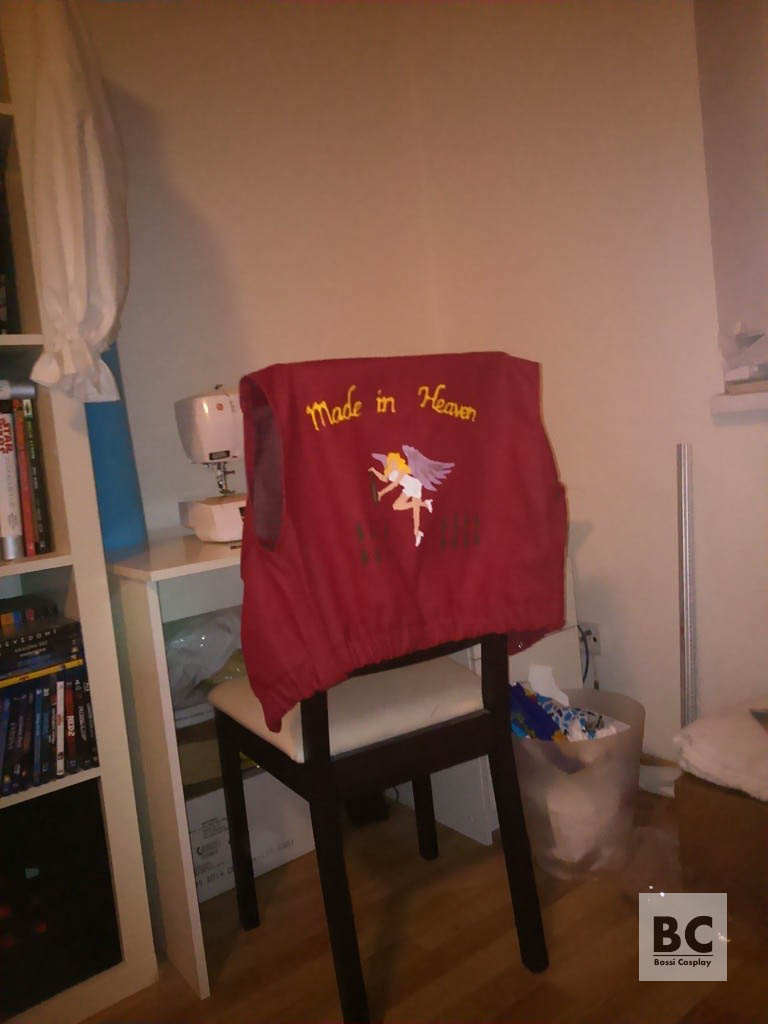
The final step, of which I was afraid of the most, was the painting of the picture on the back of the vest. Painting/drawing – my nightmare. I printed out the picture and the inscription, I cut it out and drew it onto the fabric. My hands were shaking all the time… I was so afraid of messing it up! I used Pébéo Setacolor Opaque which I’ve used before and which worked well for me. I ironed up the paints, I ironed down the darts, pockets, seams etc. and I was really pleased with how it all turned out. I was soooo happy thatI was going to cosplay Claire – finally.

Barriss Offee – cloak

Barriss Offee – cloak

I wanted costume of Barriss Offee for a very long time, but I didn’t have skills and money. So as soon as I saved some money and found a suitable cloak fabric, I started to work on the costume. The most important was to find out how the cloak is made. The construction of the cloak is quite elaborate and it wasn’t easy to come out with solution with the right effect. However, the final product looks and functions really well and I am very proud of it. The main help in figuring out the construction was the Barriss Offee doll. It has some additional stitches on the back of the cloak. Based on this I realized for the first time that the cloak can actually be yoked at the back.

The second great help were sketches you can find on The Padawan’s Guide. I wrote to the author asking about the source on which these sketches are based and her explanation was sufficient enough for me to decide I need and want to make the back pleated, with yoke, make a high collar on the cloak and to have the cloak thrown over and attached to my shoulders. You can see how my cloak is constructed on this sketch:

The yoke consists of four same pieces of fabric. Two are on top of each other (as two layers) in back and two are on top of each other (as two layers) in front. They are connected together by their shortest sides on shoulders (at one shoulder they are connected by the zipper, which extends to the collar part and allows me to get into the cloak, and on the second shoulder they are just sewn together).

So the yoke is actually double layered and in between these layers, on the bottom, longer side of it, the main part of the cloak (a huge rectangular pleated piece of fabric) is attached. To the shorter, upper part of the yoke the collar (and the hood) is attached.

The collar is double layered as well – in between the collar layers the hood is sewn (except for its short part in front, which is attached by velcro – to allow me work with zipper).

As you can see, I used fabric which doesn’t have 100% similar pattern as it could be seen in the film – as soon as I’ll have time, I’ll try to re-make the cloak with fabric which I’ll hand-paint. So two points about fabric:

  • Find fabric with the most similar pattern or hand-paint your own.
  • Find fabric which is a little heavier one so it would float/drape well.

As far as the hood is concerned… I followed the tutorial here on Jedi Assembly. I used the same shape and measurments offered. I ended up with huuuuuge piece of fabric, which I had to reduce into the desired size, but in general, the shape is good. The hood is stiffened by “vlizelín” (sorry, don’t know the English word for that), which is ironed by a hot iron onto the fabric. I ironed it into “the pocket”.

What I mean by “the pocket”? Front side of my hood is folded and turned inside so it creates a sort of pocket, which stiffens the hood a little bit and offers me to effectively hide this stiffening stuff I used, and more importantly – a wire. This stiffened part ends on top of my head.

I mentioned a wire – I wanted to be able adjust the shape of the hood better so I inserted a thin wire into the pocket. The wire is lining the whole facing of my hood and as I say, allows me to adjust the shape better. Thanks to the open pocket it can be taken away and it won’t damage the fabric during washing.