To make a vest seems to be so simple… And I already made a vest for my Claire costume, and Jyn costume, so I should be an expert by now. Well, its never so easy with cosplay. So, yes, I’ve learned something from my previous works – its better to start with a mock-up.
As the base for my pattern I used a short light vest I already owned and which fitted me well. I drew it on pattern paper, shortened it and added a colar. I cut the pattern into several parts according to where seams are on the original.
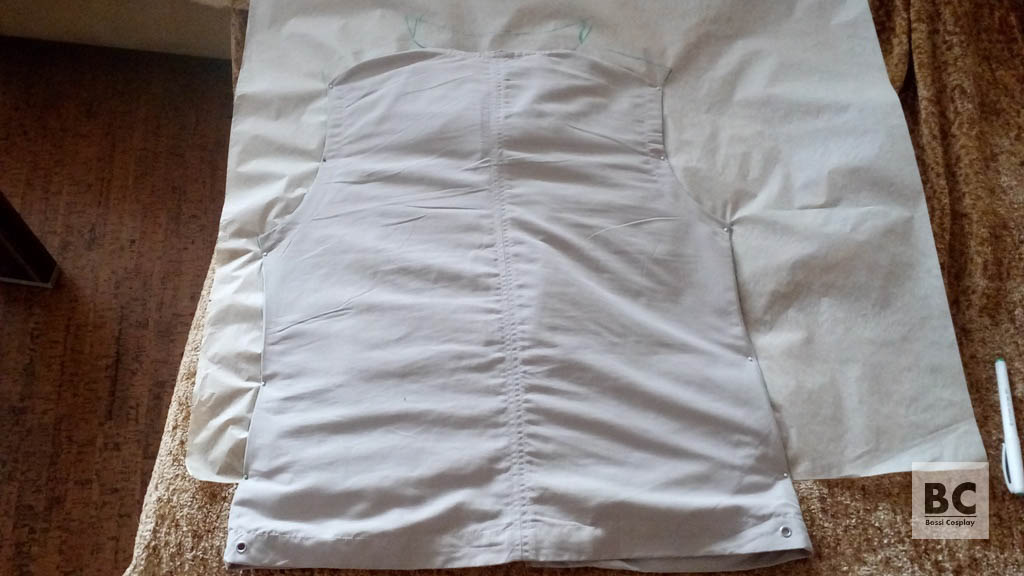


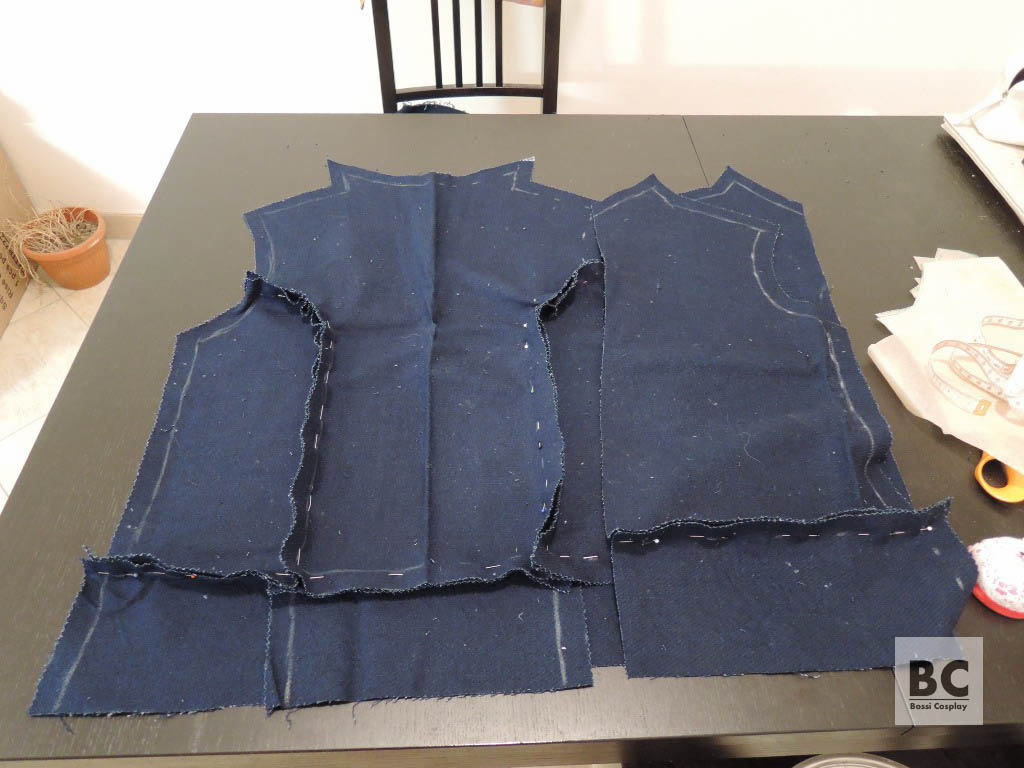
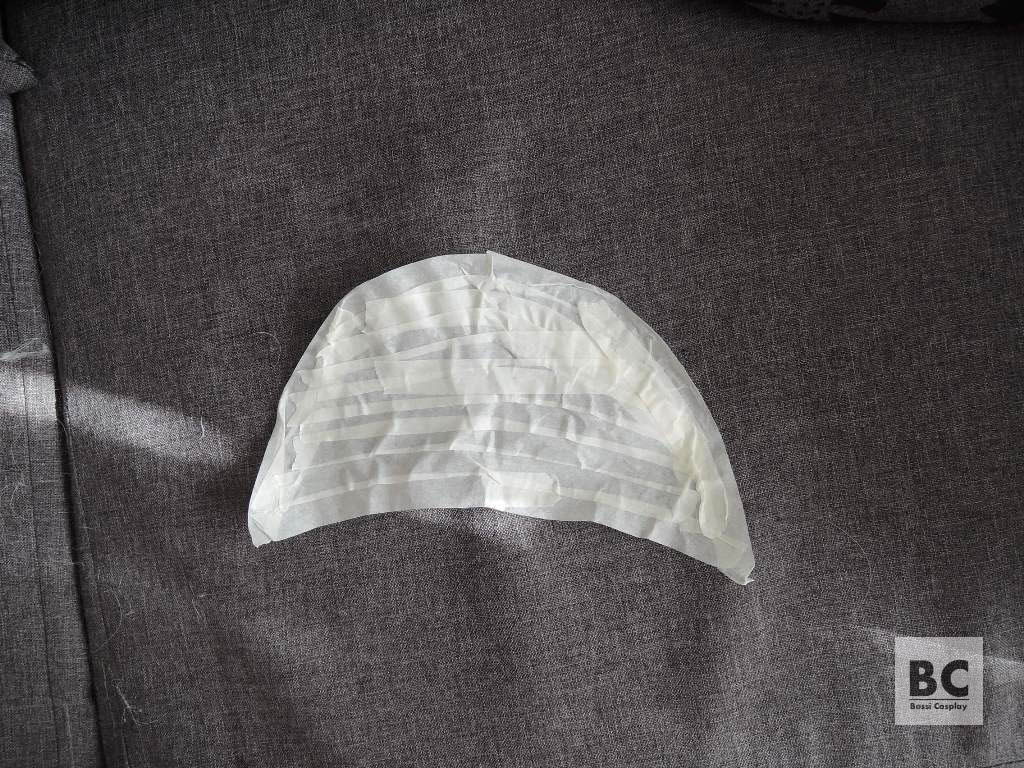
I transferred the patterns onto mock-up fabric, cut them out and sew them together. I adjusted the arm holes, the seams at the back and the length of the middle part – to have the seam in my waste. It was a lot of trying-ons, cutting and ripping. Finaly, when everything fitted, I put the vest on my dressing form and with paper tape I created the pattern for “shoulder pads”.

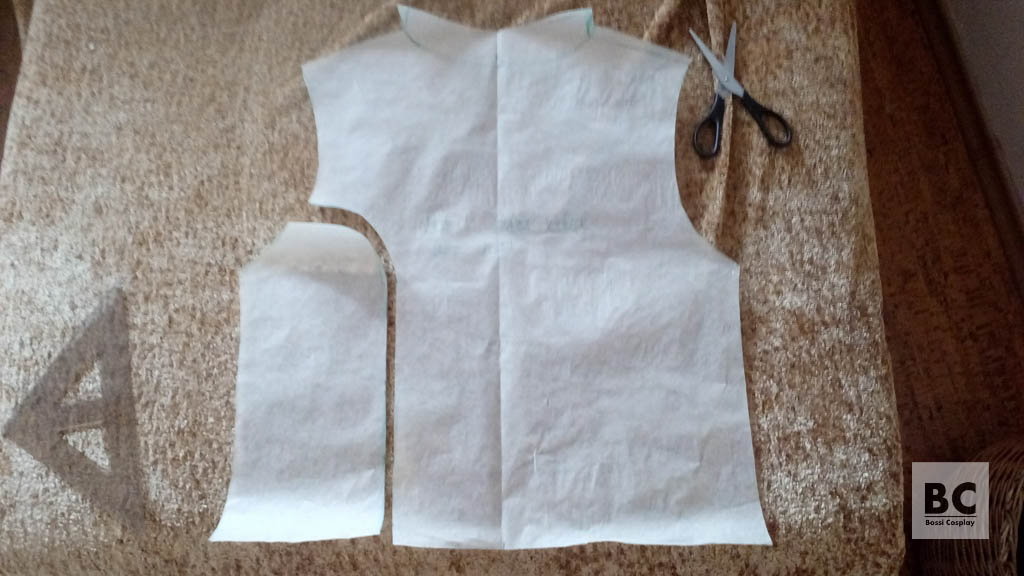
When I was satisfied with the mock-up, I ripped it apart and created clean patterns.

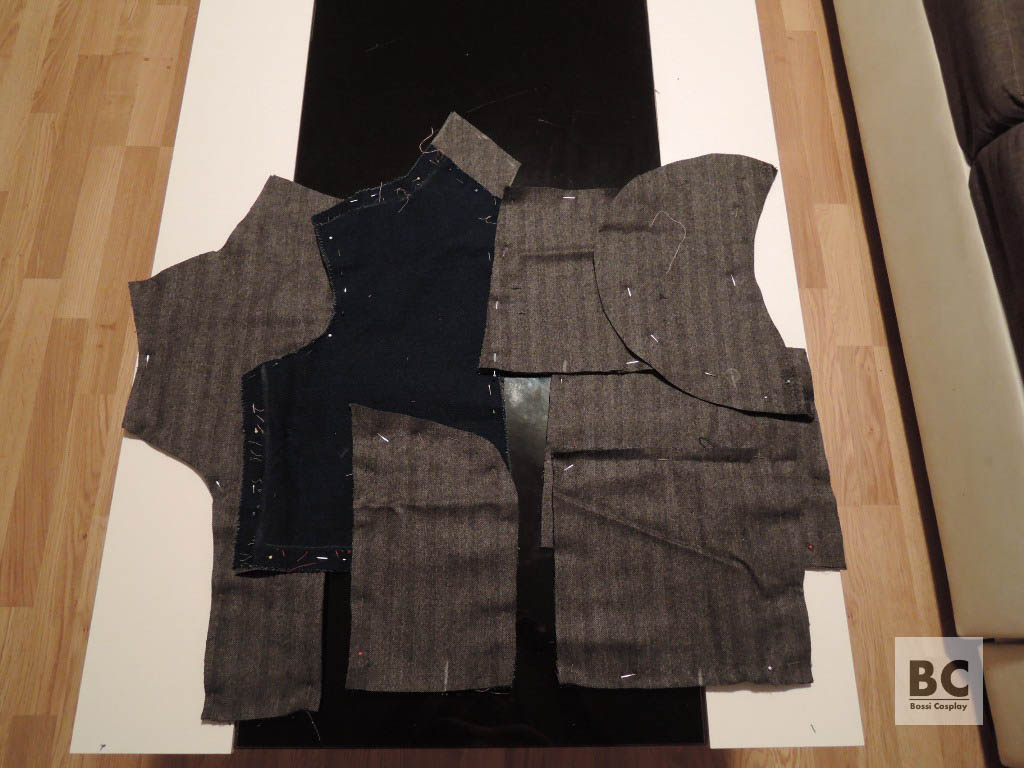
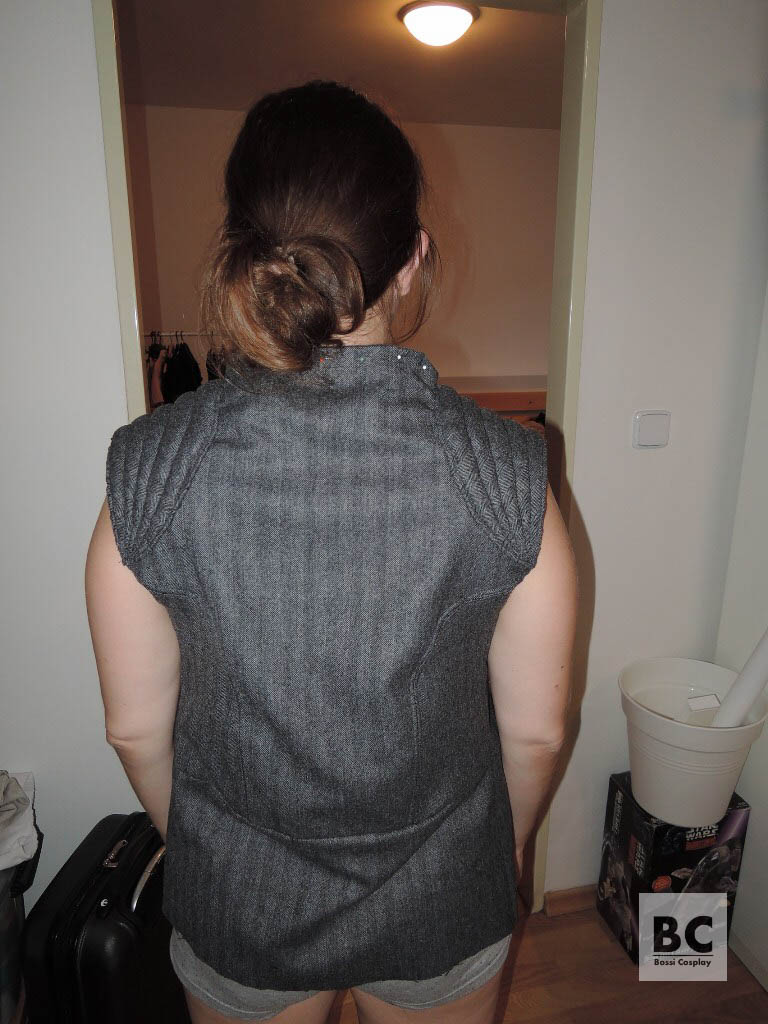
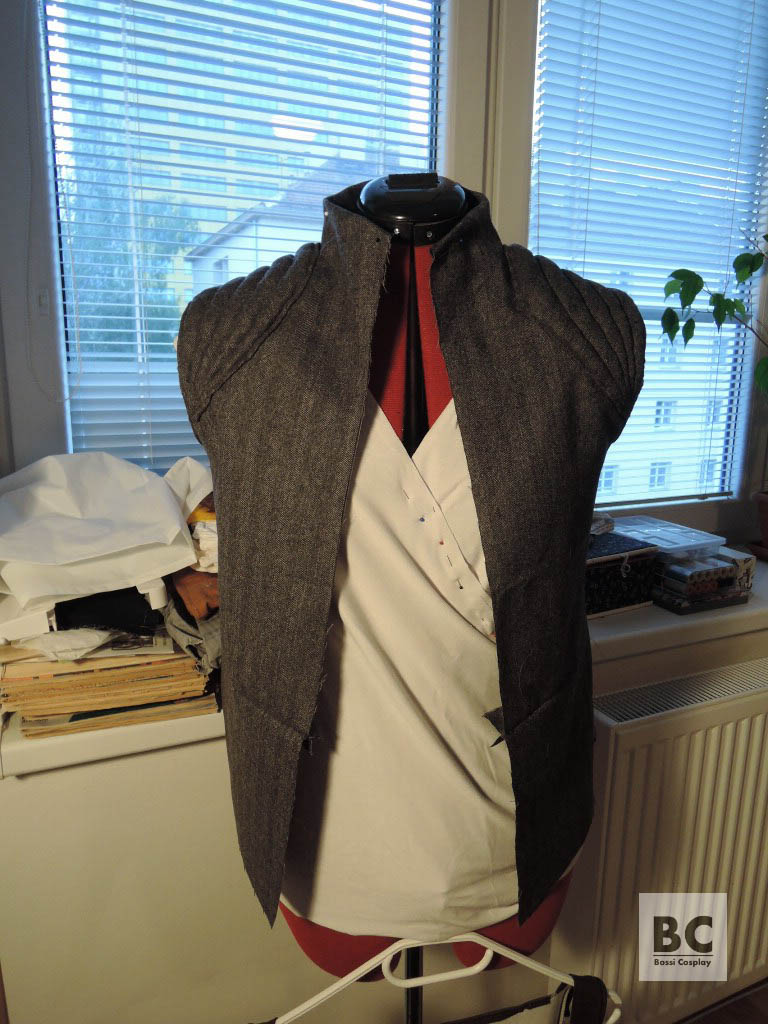
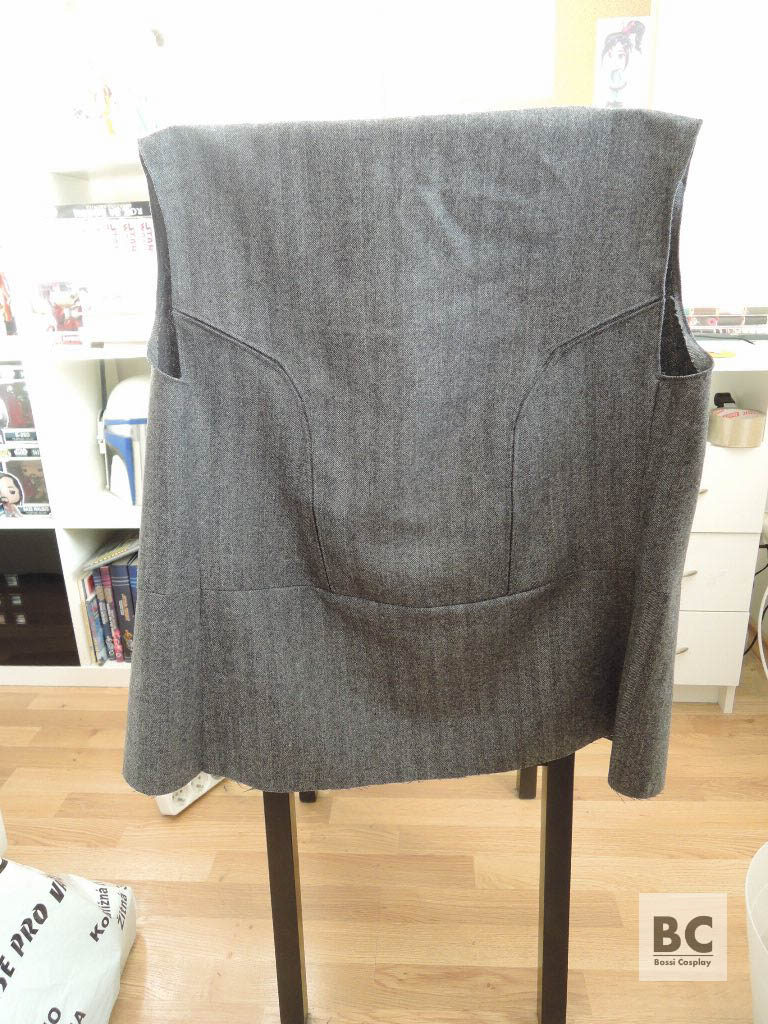
I transferred my patterns onto the fabric and sew the vest together. At the back and on the sides of collar I had to create somehow the seams with visible stitches Rey has there on the vest. So I didn’t sew those parts together normally, but put a stripe of fabric under the pieces and sewed them onto it. It created a needed gap over which I then hand sew the top cross stitches.

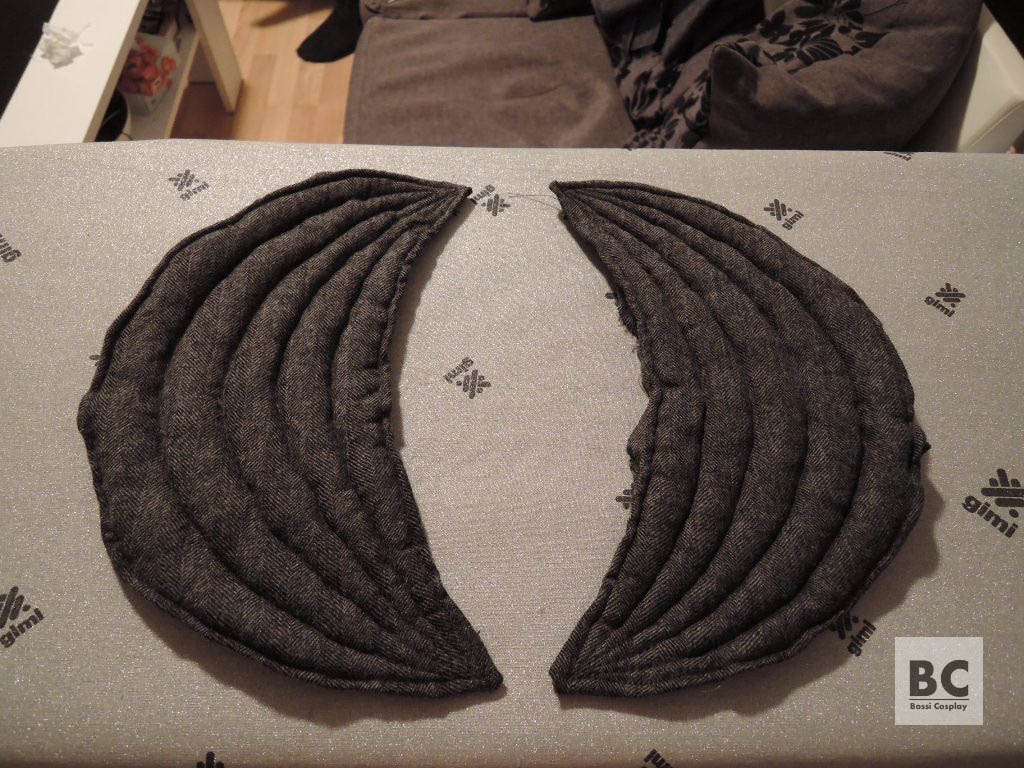
Then I moved to “shoulder pads”. I cut the two pieces of fabrics for each. I sew them together and sew through them as on the original, creating the small tunnels in this way. I cut through the bottom part of each and stuffed them individually with padding. Then I hand sewed the each pad on the shoulders.


Finally I adjusted the collar to the correct shape and size and finished up the lining.
And the only thing to do then was to hand sew the stitches on the edges and to frown the bottom edge.